Configure external Google login
Integrating Google sign-in into your web application allows users to authenticate using their Google accounts. This tutorial guides you through configuring external Google login for a web application named "WeSolve".
1. Access Google Cloud Console
- Go to the Google Cloud Console.
- Log in with your Google account.
- Select or create a new project for the Google login functionality.
2. Configure the OAuth Consent Screen
- Navigate to APIs & Services > Credentials.
- Click on CONFIGURE CONSENT SCREEN.
- Select External for the User Type and click Create.
- Fill in the required fields on the OAuth consent screen tab:
- App name: "WeSolve"
- User support email: Choose an email for user support queries.
- Developer contact information: Provide your contact email.
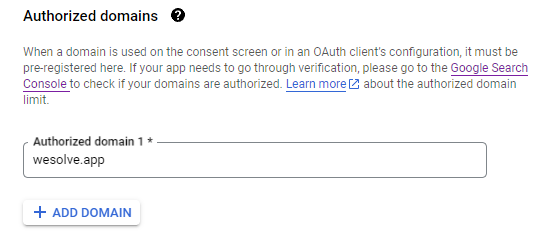
- Add your web app's domain to the Authorized domains section (e.g.,
wesolve.app).

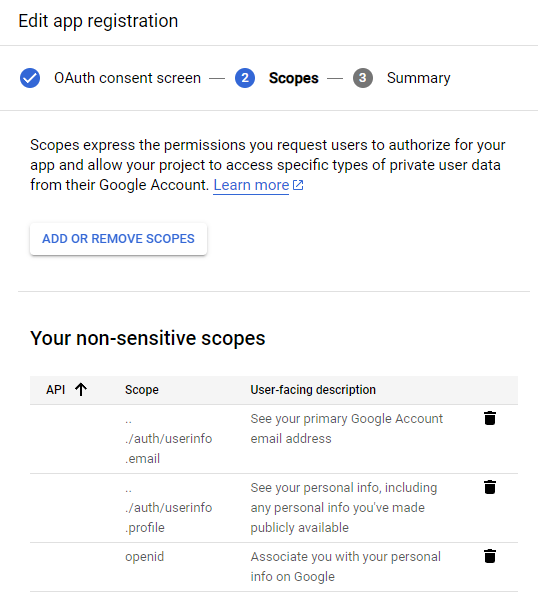
3. Add Scopes for the OAuth 2.0 Credentials
- Specify the scopes your application will need:
openid,email, andprofile. - These scopes enable access to the user's ID, email, and basic profile info.
4. Create OAuth 2.0 Credentials
- From the Credentials page, click Create Credentials > OAuth client ID.
- Select Web application as the application type.
- Under Authorized JavaScript origins, add your web app's base URL (e.g.,
https://wesolve.app). - In Authorized redirect URIs, add the URI for redirecting after authentication (e.g.,
https://wesolve.app/account/login). - Click Create to receive your client ID and client secret.
5. Setup WeSolve Google login configuration
-
Navigate to Settings:Locate and selectAdministrationfrom the left-side menu and selectSetings -
Open External Login Settings tab:Locate and selectExternal Login Settingsfrom the tabs menu. -
Enable Google Login:LocateGoogleand check the boxEnableto enable Google authentication. -
Configure Google
Parameters:Parameters:-
Client ID: Enter the Client ID obtained in step 4. -
Client Secret: Enter the Client Secret obtained in step 4. -
User Info Endpoint: Specify the URL for retrieving user information from Google APIs. We raccomend to usehttps://www.googleapis.com/oauth2/v1/userinfo?alt=json
-